
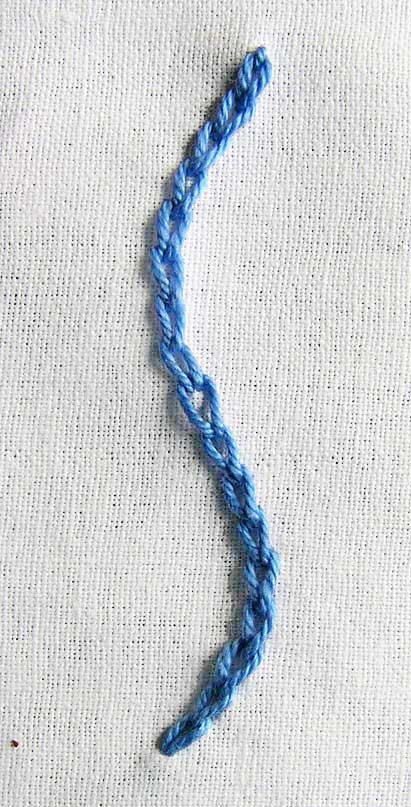
This is the basic and simplest of the chain stitch family. It gives a chain like appearance or, like petals lined up one after the other.
To assist our lessons, I will do this stitch from top to bottom. Generally, it follows a left to right path.
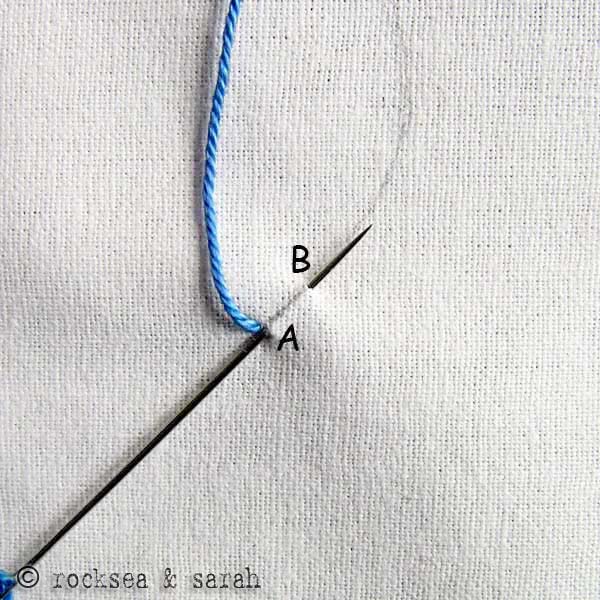 | 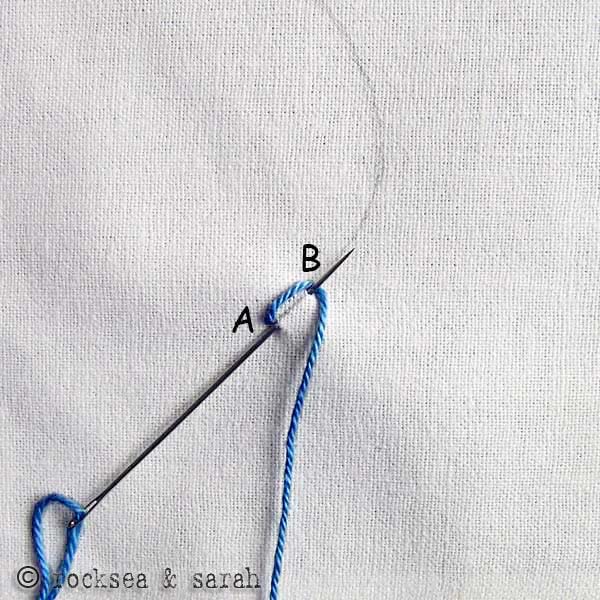 | |
| Fig 1: Bring the thread out through A. Put the needle back in A and bring it out through the point B, but don’t pull the needle out completely. | Fig 2: Now, take the thread around the needle from left to right to form a loop. | |
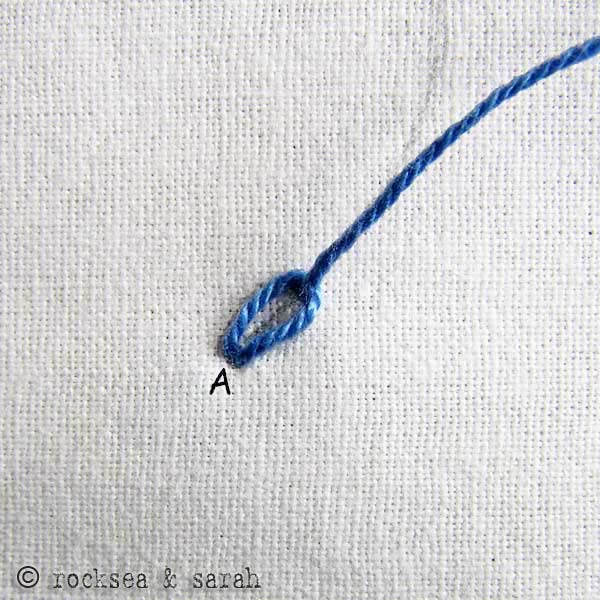 | 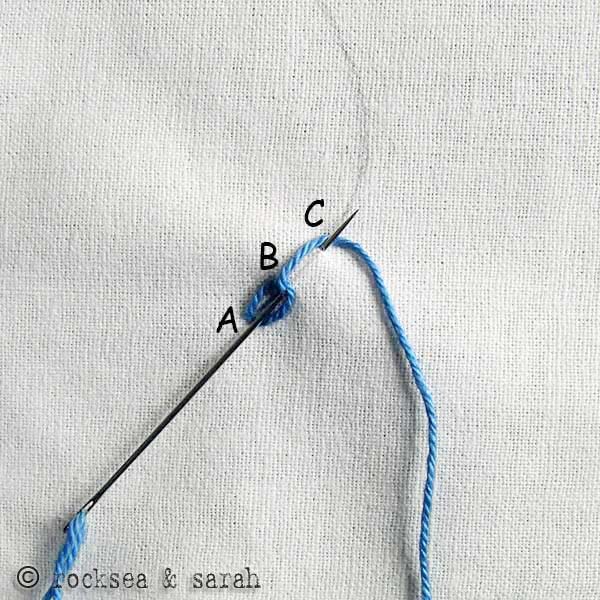 | |
| Fig 3: Pull out the needle now to tighten the loop and you will get the first part of the chain. | Fig 4: Now, put the needle in through B (now inside the loop) and bring it out on C (outside of the loop). | |
 | Fig 5: Continue the action by taking the thread around the back of the needle from left to right to form a loop and pull out the needle to get the next loop of the chain. Keep on with this procedure to finish the design. |
The above is copied from http://www.embroidery.rocksea.org/
(Want to buy a DIY sewing kit, to sew something for your kids??
This may help: http://www.etsy.com/shop/ShineKidsCrafts?section_id=12537523)

No comments:
Post a Comment