 | 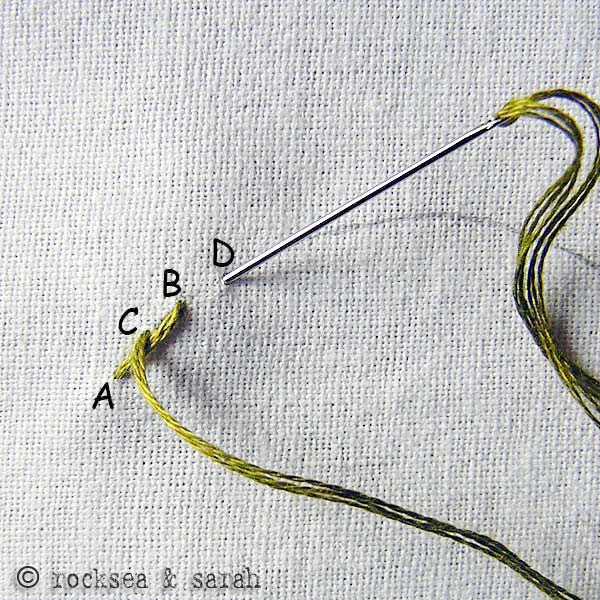 | |
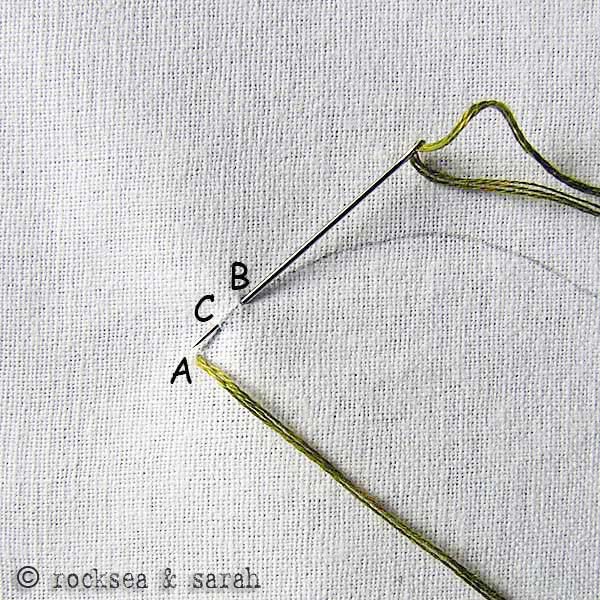
| Fig 1: Bring out the thread through A and take it in through B. Take the needle backwards and bring the thread out through C. Make sure the point C lies over the stitch A-B. | Fig 2: You need to note that the point C lies about half way through A and B. Also note that C lies on top of the stitch A-B. So, all the subsequent stitch points will lie on top their previous stitch. | |
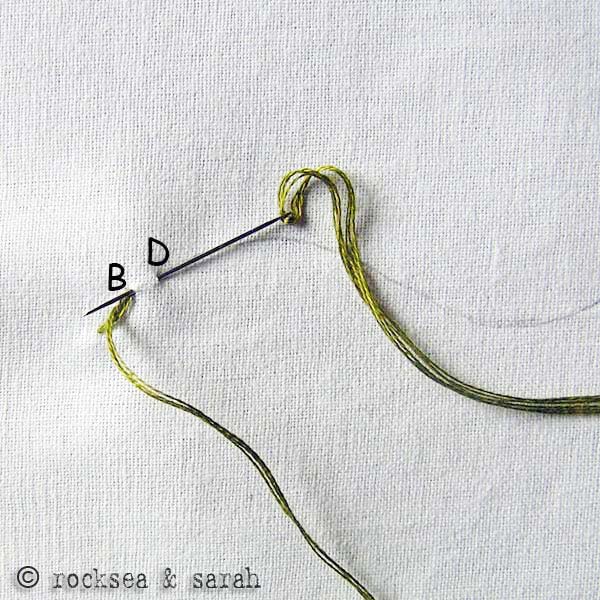 | 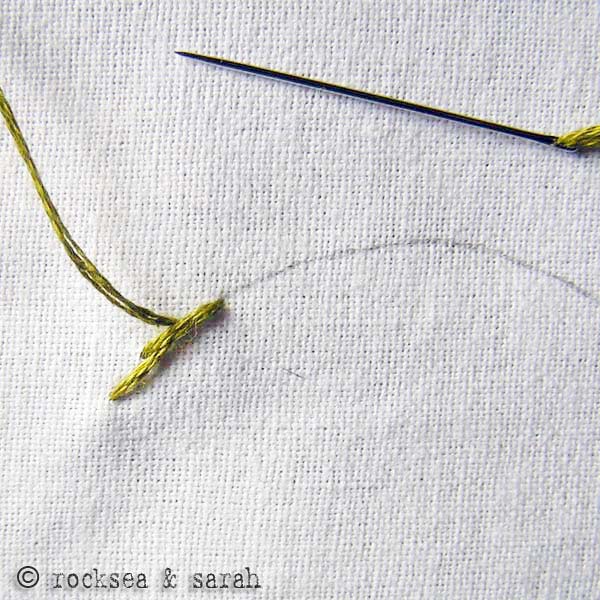 | |
| Fig 3: Take the needle in through D. Try to mark D in such a way that the point B will lie half way through C-D. Bring the needle out through B. | Fig 4: So, the pattern of two stitches of the stem stitch will be as shown above. | |
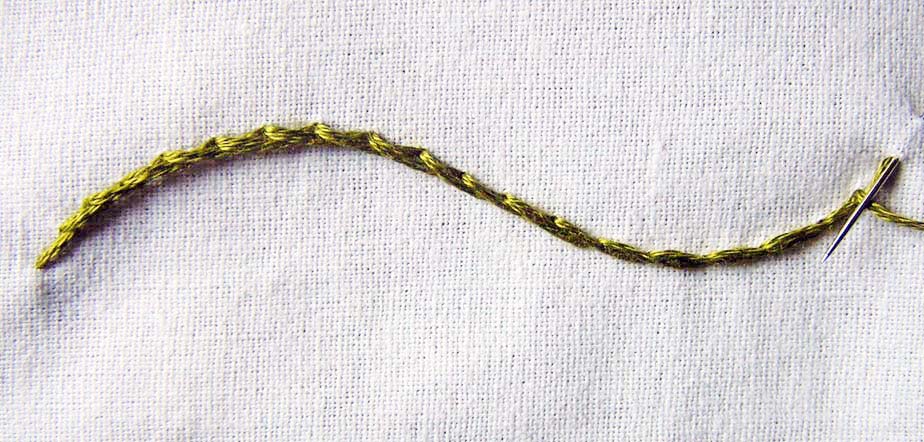 | ||
| Fig 5: Continue this pattern of stitching with the needle coming out through the top of the previous stitch always. | ||
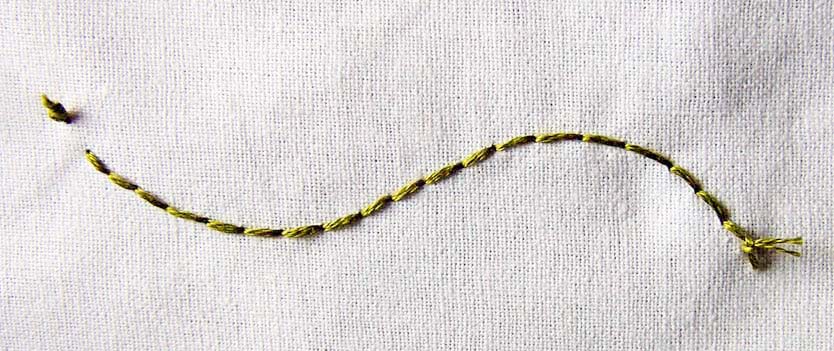 | ||
| Fig 6: The reverse of the fabric will give you a back stitch pattern. The above is copied from: http://www.embroidery.rocksea.org/. It is a very useful site showing different kinds of stitches.
(Want to buy a DIY sewing
kit, to sew something for your kids??
This may help: http://www.etsy.com/shop/ShineKidsCrafts?section_id=12537523) | ||

Monday, January 14, 2013
Stem Stitch
If you want to sew details on a face, e.g. the whiskers of an animal, this stitch can be used.
Subscribe to:
Post Comments (Atom)
Featured Post:
20 Last Minute Easy & Super-Cute Easter Party Food
Still thinking about the Easter party food for your kids? This post may help you! All the food below are easy to make. Most important, the...

No comments:
Post a Comment